s c r o l l
Equipment
SCANNER

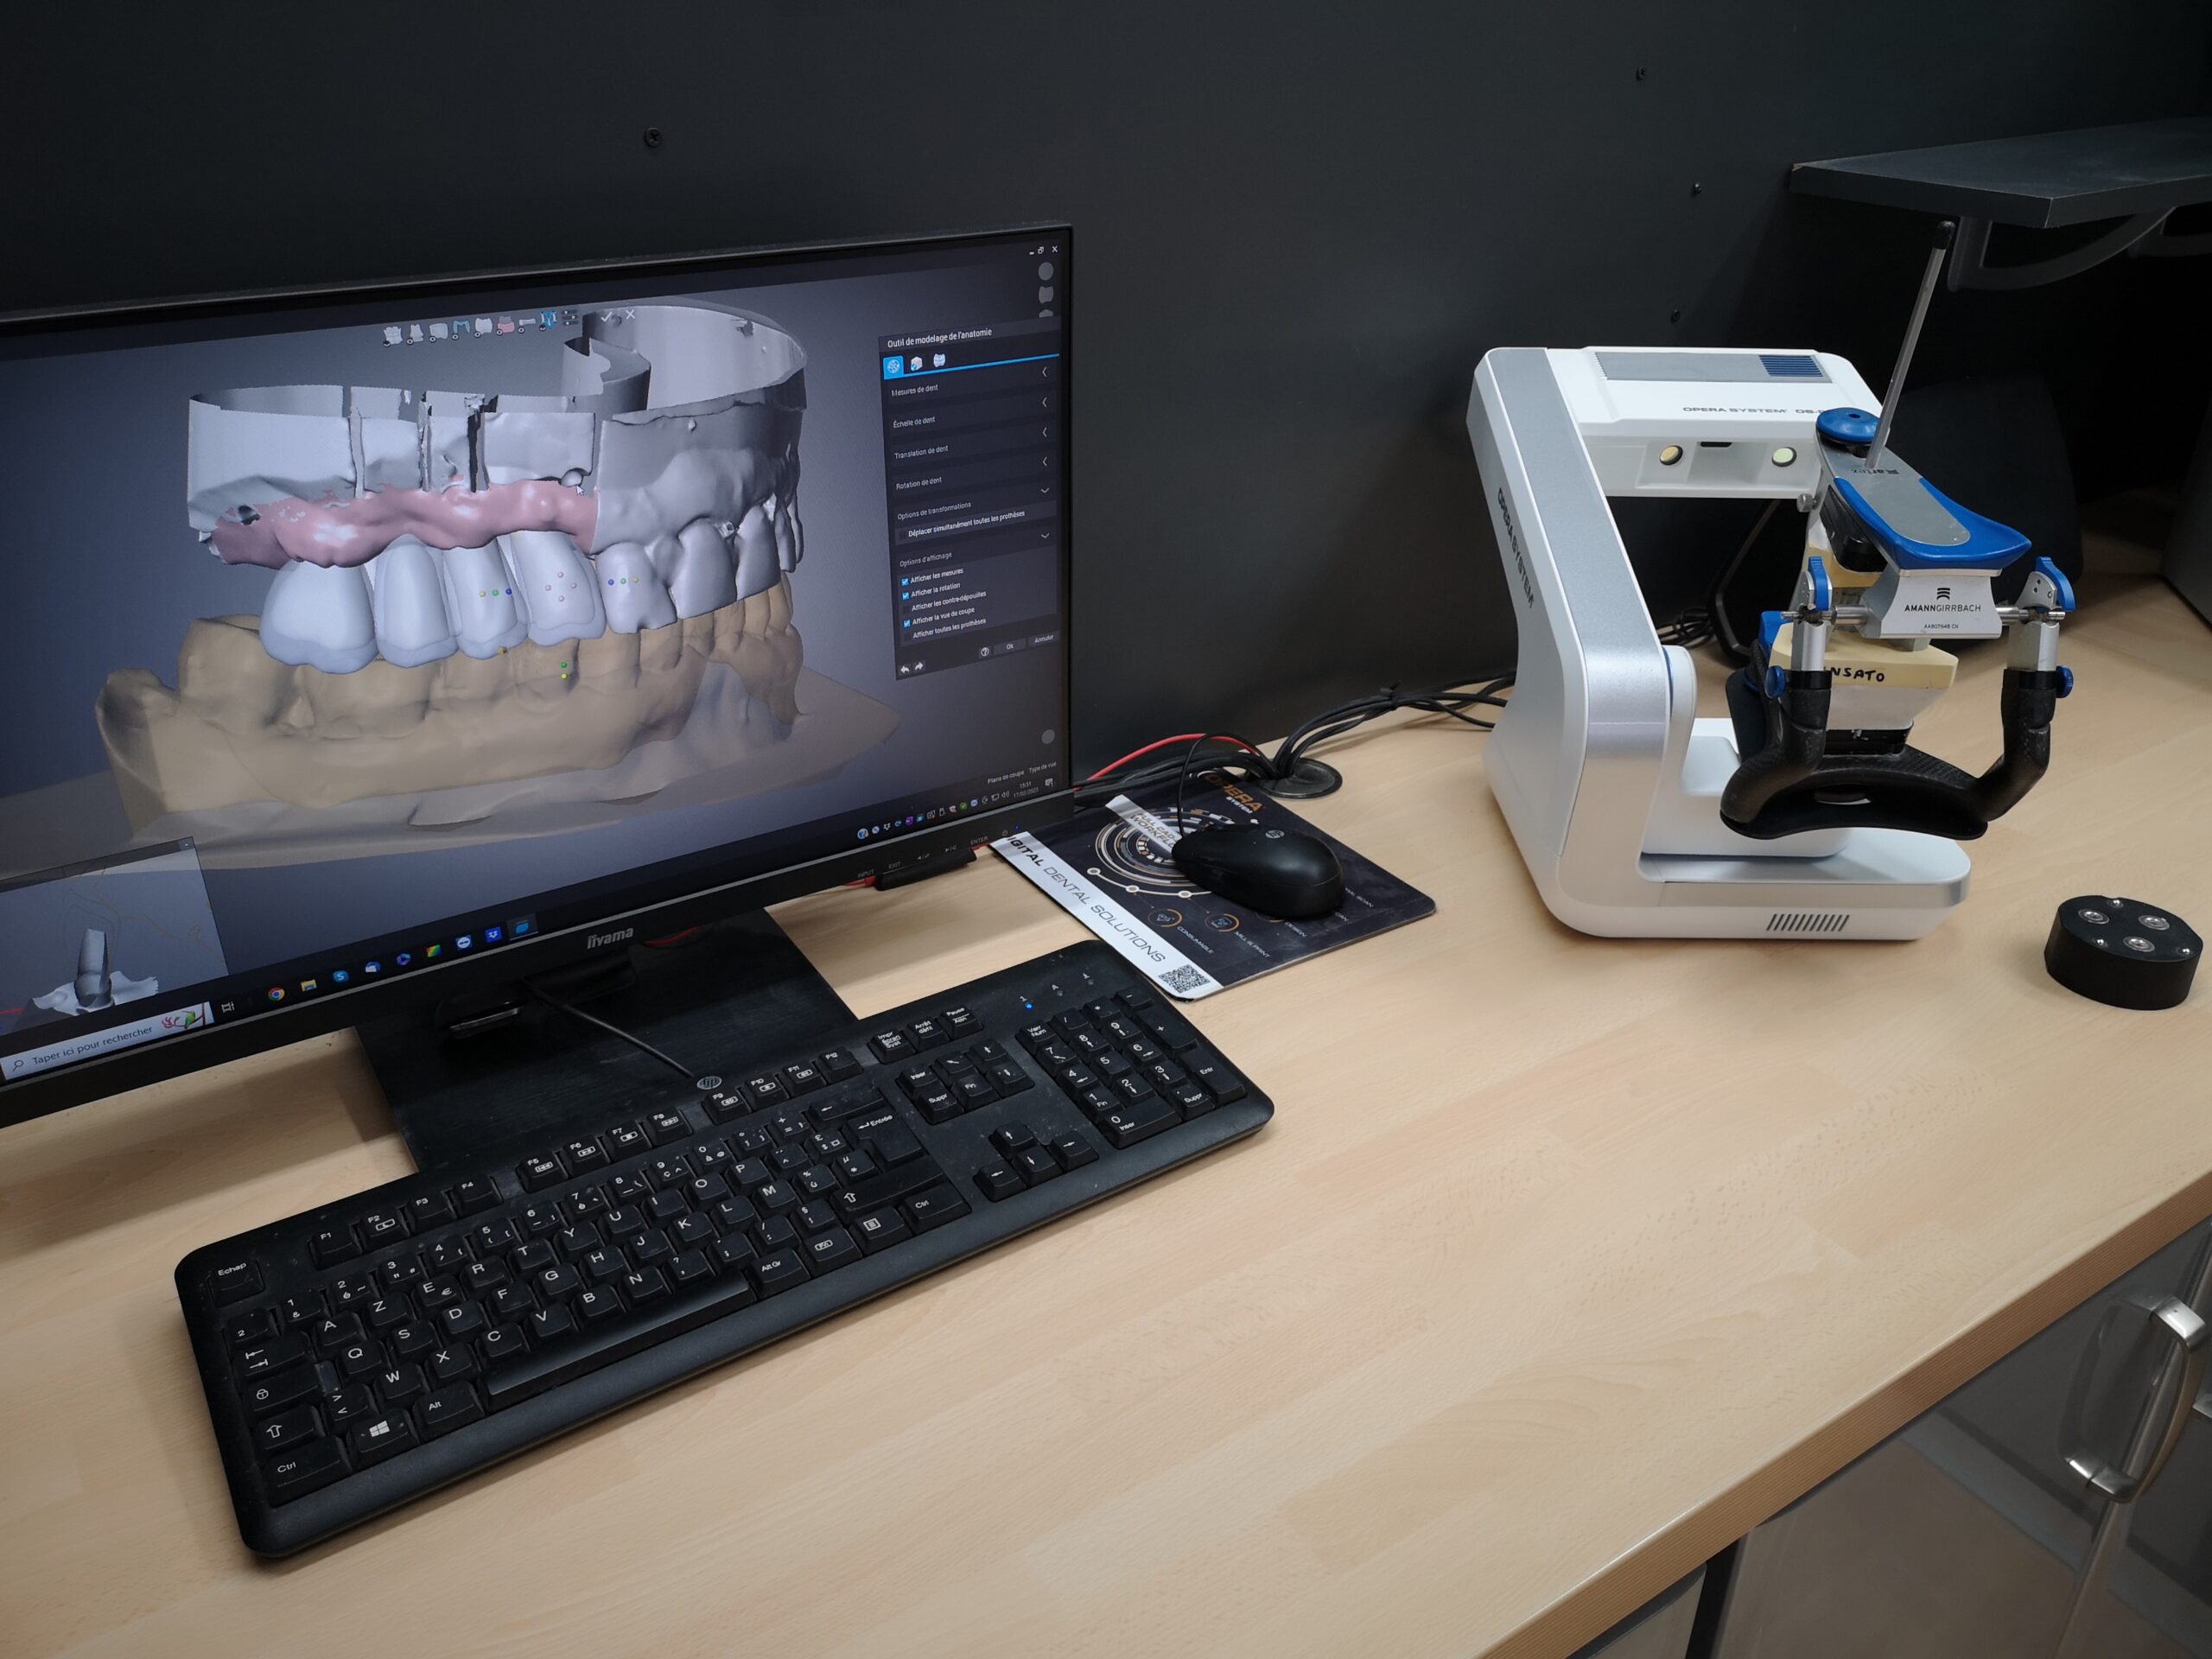
This is a 5-axis scanner with 3D optical scanning fitted with a camera and a laser beam. We were one of the first laboratory in France for invest in a scanner since 2008.
This device uses CAD (or computer-assisted design) technology. The user scans the working model to get a 3D image with an accuracy level in the order of a micron. You can design the ceramic framework on the computer.
The file obtained is transmitted via the internet to a factory laboratory which can produce the pieces in various materials, such as zircon, chrome/cobalt, titanium, resin etc, in an equally precise way. This gives passivity and precision fitting to future ceramics.
WELDING MACHINE

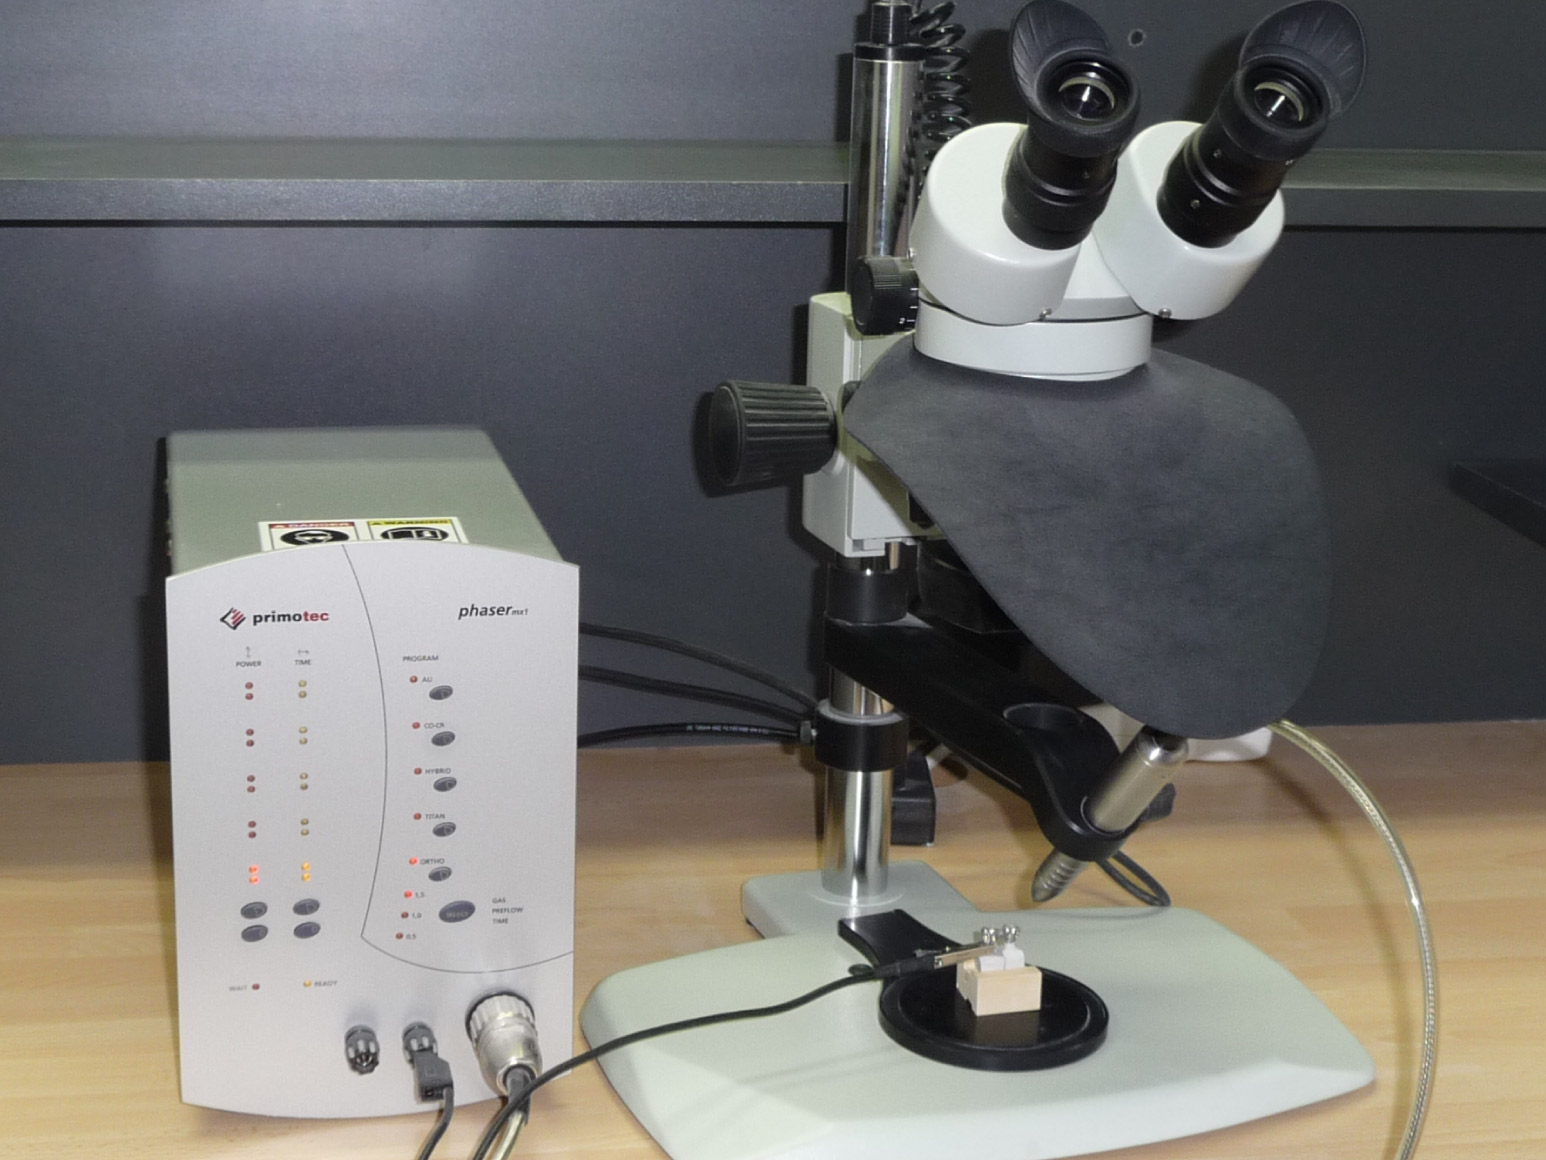
A plasma arc welding machine.
This device enables us to carry out welding with extreme accuracy. There is no provision for a lower alloy mix as with a solder joint, which is usually carried out with a blowtorch.
The solidity is obtained following a sequence and superimposition of welding points. For each impact, you can programme its width, depth and the quantity of heat supplied. The alloy remains protected by a projection of Argon gas, which prevents it from oxidising on contact with the oxygen in air. This device is equivalent to a laser welding machine, with the difference being that energy is supplied via an electric arc rather than a laser beam.
CERAMIC FURNACE
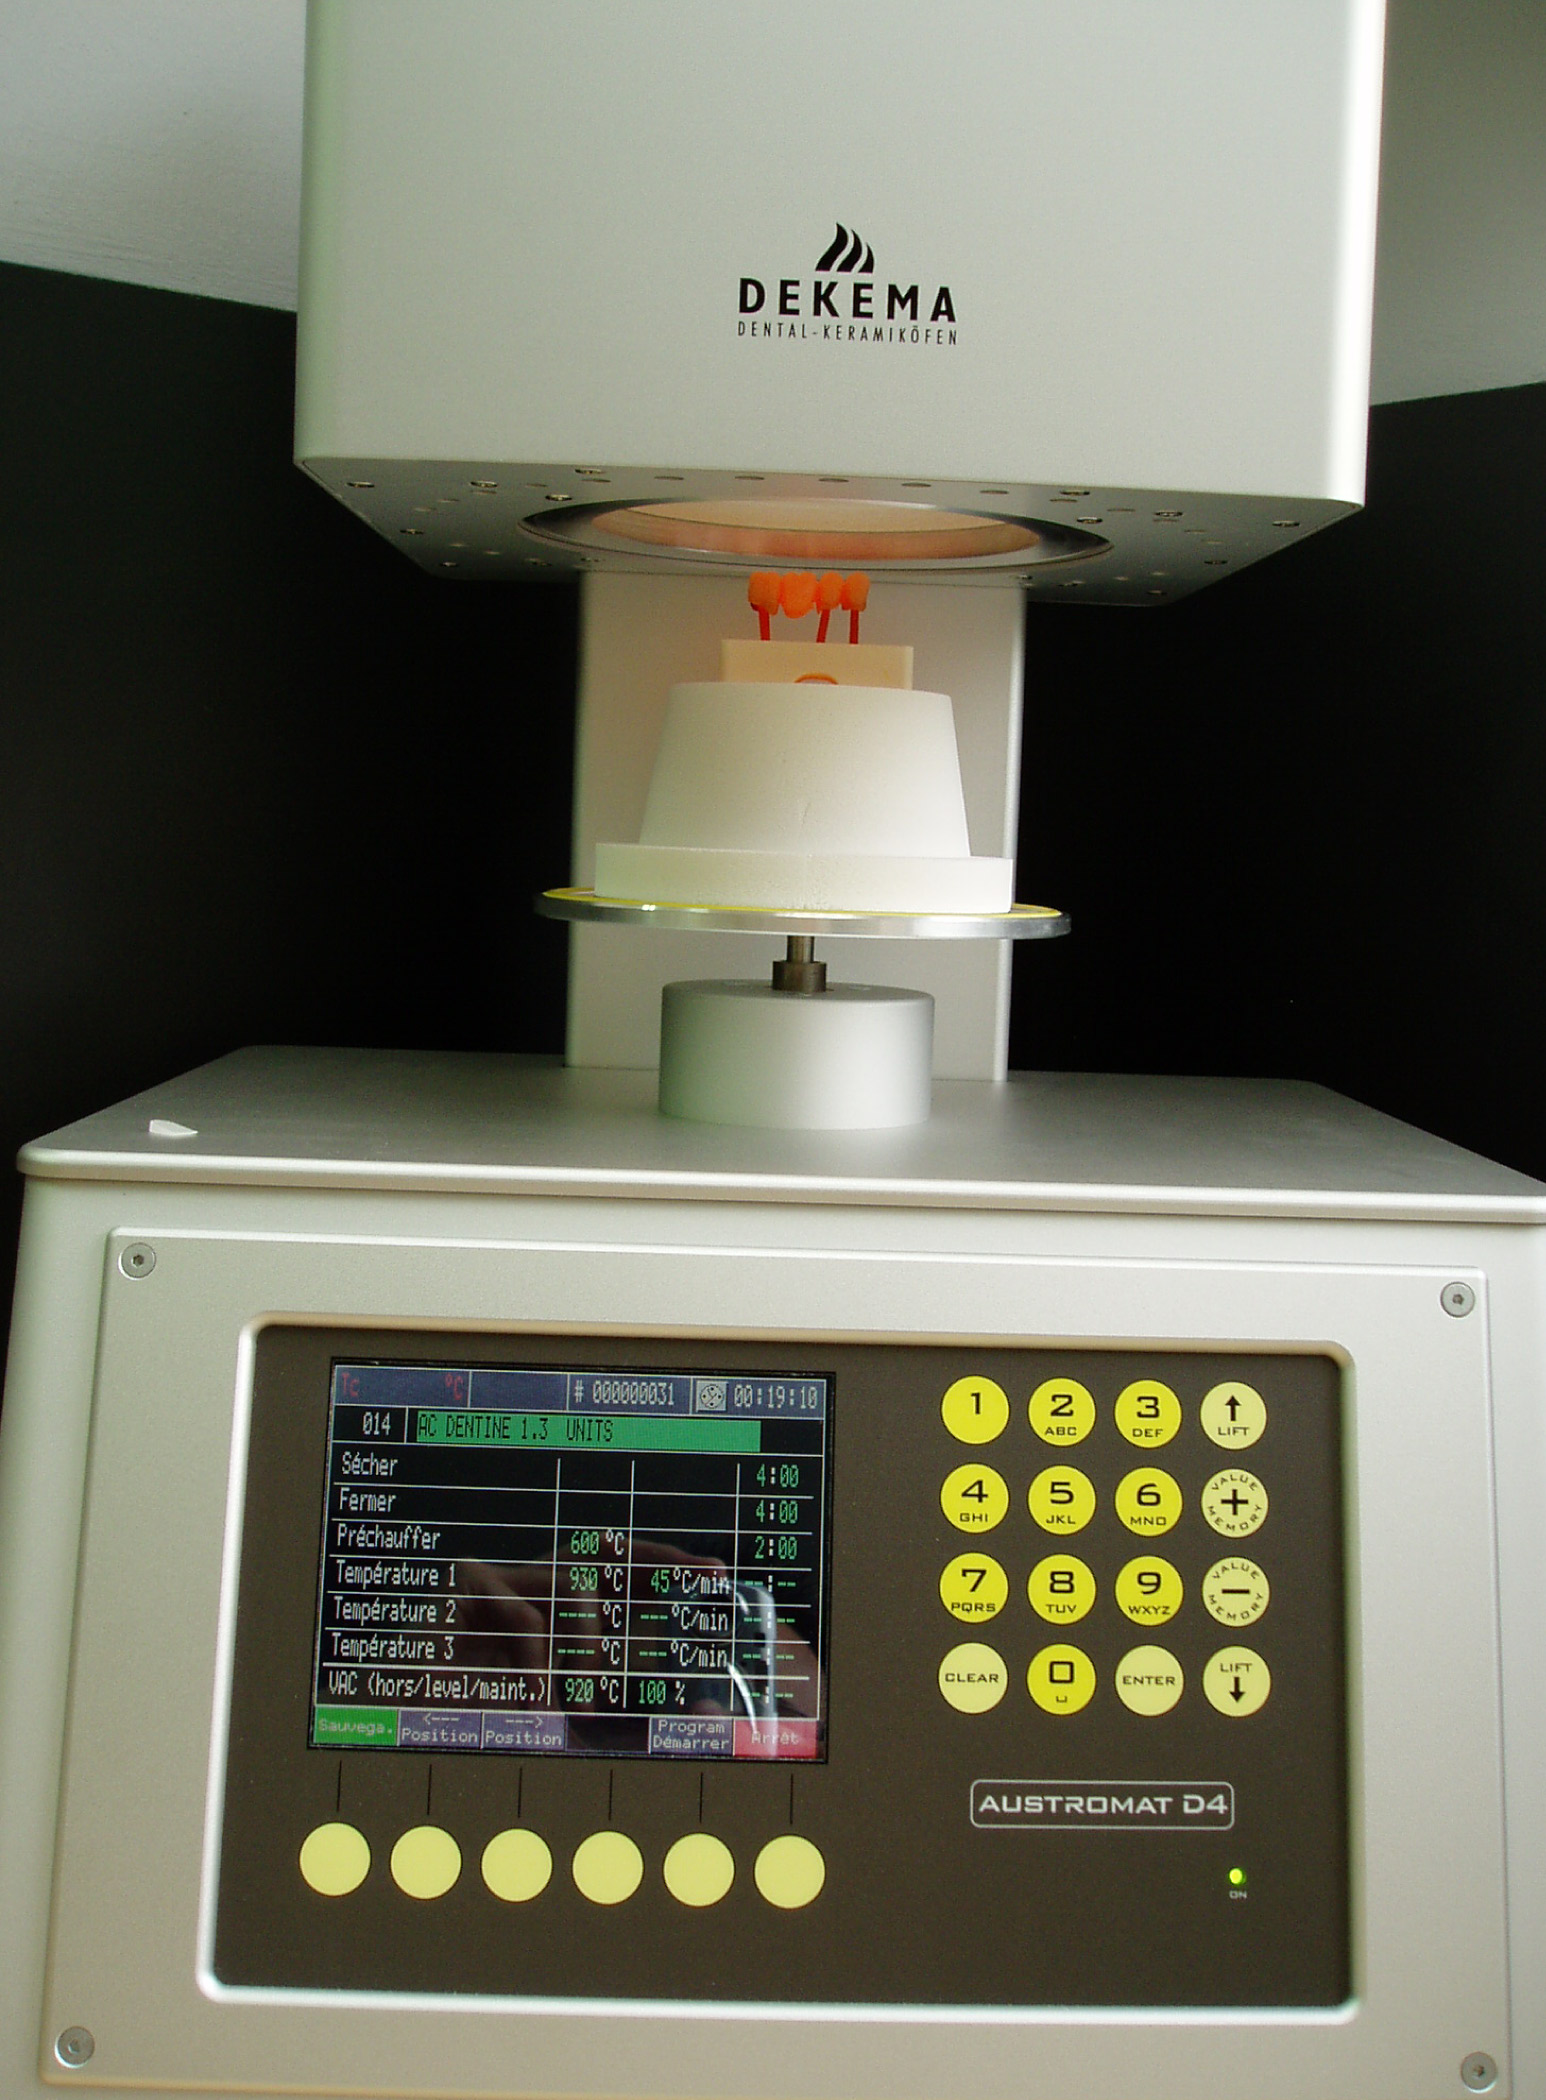
This is a Dekama, made in Germany. Its programming possibilities and reliability mean we can produce ceramic firings in almost perfect conditions, with 1-degree accuracy and a maximum level of hollowness.
You need to be aware that the mechanical properties of ceramic (solidity, fatigue resistance, surface state etc) and the optical ones (level of transparency etc) depend in part on how it is fired.

A laboratory where our mastery of art and prosthetic technologies are at your service

Adress
31, Rue Michel – Ange 06000 Nice

contact@dental-art-technology.com

phone
+33 (0) 4 93 78 71 09
